http://photoshoptutorials.ws/photoshop-tutorials/photo-effects/retro-colors.html
Firstly, I opened up the photo in Photoshop and then created a new layer. With the new layer selected I then used the Rectangular Marquee tool to create a box around the left hand side of the image. I then chose a red colour from the swatches pallet and used the keyboard shortcut Alt+Backspace to fill the box with red. I then inversed the selection so that the right hand side of the photo was selected, and this time filled it with green. Next, I hid the layer and went back onto the background layer and selected the Match Colour tool. In the image statistics box that came up, I entered the image’s document name as the source, and Layer 1 as the layer. Next, in image options, I increased the fade and decreased the colour intensity of the image.
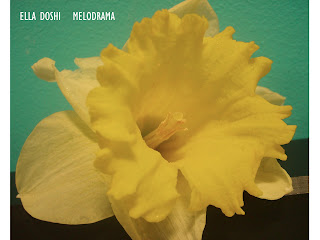
This was the result:

I then added film grain to my image, with the help of this tutorial:
http://photoshoptutorials.ws/photoshop-tutorials/photo-effects/natural-film-grain.html
Firstly, I opened up my new retro-colours image in Photoshop. I then created a new layer and filled it with 50% grey, and changed the blending mode of the layer to “Overlay”. Next, I right clicked on the layer and selected “Convert to Smart Object”. I then clicked on “Filter” and then on “Add Noise”, the amount of which I adjusted to 400%.I then added a “Gaussian Blur” over the top of this by going on “Filter”, “Blur” and then “Gaussian Blur”. I then adjusted the opacity of the layer so that the grain did not appear too strong. I then added the artist and album name in a font off www.dafont.com.
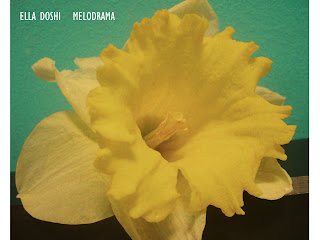
This is the final image:

No comments:
Post a Comment